


|

|
Tools required:
- 5.5mm nut driver (can be substituted with nose pliers)
- Nose pliers
Procedure time: approximately 5 minutes
Removing the Motherboard
Step 1: Removing the control panel assembly from the motherboard
Follow the removal procedure here to complete this step.
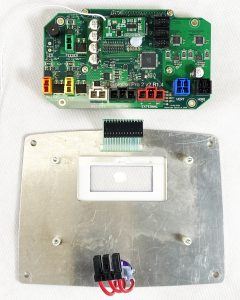
Step 2: Removing the motherboard shield
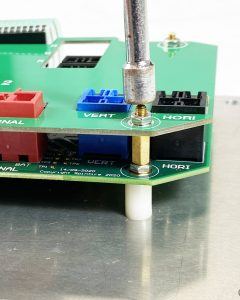
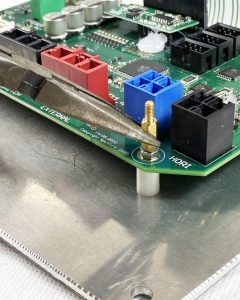
- Place the control panel assembly on a flat smooth surface facing buttons down. Identify the four 5.5mm nuts holding the protector shield, they are shown in the image below:

- Remove all four nuts using the 5.5mm nut driver or the nose pliers.
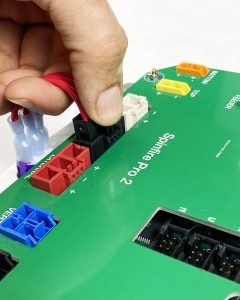
- Identify the black plug connecting the master switch wires to the motherboard. It has a clip that needs to be pressed and pulled to unplug it from the motherboard.
Words to centre - You should now be able to lift the shield and remove it from the assembly.

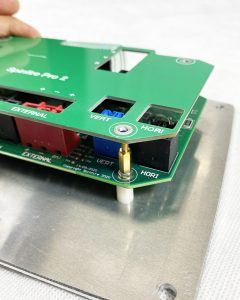
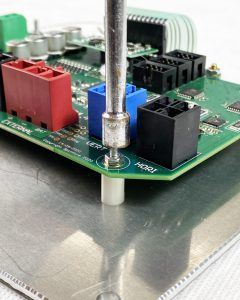
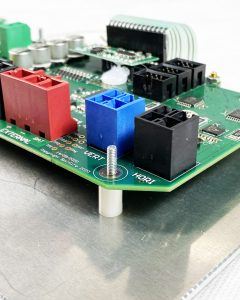
Step 3: Removing the hex stand offs and nuts
- Use the pliers to remove the hex stand off and then remove the 5.5mm nut under it using the nut driver (you can use the pliers for this too if you do not have a nut driver).
- Repeat the above procedure for all four hex stand offs and nuts on the points marked in the image in Step 1.
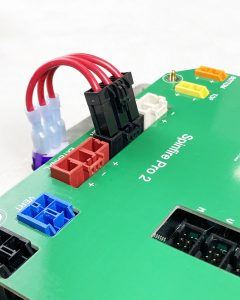
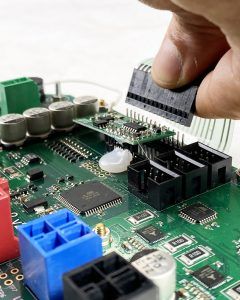
Step 4: Removing the green ribbon plug
Identify the green control panel ribbon and unplug it from the motherboard. Use controlled force.
Words to centre 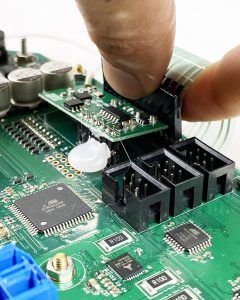
Step 5: Removing the motherboard
After carrying out the previous four steps you should now be able to simply lift the motherboard off the control panel.
Installing the Motherboard
Repeat the removal steps in reverse to install a new motherboard. If your current motherboard has a receiver chip please follow the instructions here to remove it off the current motherboard and install it onto the new motherboard.
For any further assistance or ordering of spare parts please get in touch with your local Spinfire distributor.